Pages

Showing posts with label DIY. Show all posts

Sunday, November 30, 2014

DIY- Easy Cat Bed


What do cats spend most of their time doing? Sleeping! As we cat lover know, cats sleep a lot. Their daily activities make them exert a lot of energy, sleeping allows them to replenish it.

Missey and Fudge can sleep just about anywhere. As kittens, they didn't really enjoy assigned cat beds. But they did enjoy their ottoman. At night, for the most part, Missey likes to sleep with me or somewhere near me. Fudge enjoys boxes and high places. During the day, they get creative and snuggle up anywhere!

Today, I bring you an idea that was inspired by Mr. Fudge as he enjoys boxes for sleeping.

You will need a few simple things: 

1) A box or box top
2) fluffy stuffing 
3) Thread, needle 
4) Fabric
5) Duct tape


Steps:
1) Place some of your fluffy stuffing at the bottom of the box. For stuffing, I used the filling of an a pillow that I was no longer using. That type of stuffing works perfectly for this project. 

2. Cut your fabric larger than your box so as to have enough fabric to cover the sides and to fold under the box. For fabric, I used left over fabric I had but you can also re-purpose sheets, curtains or anything that has a large surface. 

3) Cover the box with stuffing with your fabric as centered as possible. 

4) You're going to make a large stitch from opposite corners and you will tie it at the back. You're going to do this for each side. 

5) Once you have your bottom secured with the four stitches, you will tighten it by pulling the tied stitches as far to the center as possible and taping each one at the bottom.

6) Now you will add stuffing to each side.
7)  After you have placed stuffing on each side, you will cover it with the fabric, bulling towards the back to tape to the back.

8) At the bottom of the box you will secure the fabric by taping it with duct tape and voila! You are done. 


Hope you enjoy making your cat a bed for happy sleeping. It's nothing fancy or something that will last a life time but it is fun to make and most importantly, your cats will enjoy it  because it is made specially for them with lots of love. 


Sunday, June 29, 2014

DIY Catnip Toy

Cats are sleepy heads but they also enjoy playing which ultimately is a nice workout. We (the human parents, hehe) can add to their play time by adding enjoyable toys. And although there is many good ones on the market, it's so fun to make our own and add lots of love to the process.

For this project, you will need the following:
1) fabric
2) thick thread
3) needle with large needle hole
4) organic catnip
5) feathers or anything fluffy (optional)

I decided to go with this black and white leopard fabric with the hot pink thread.

Once you have all the supplies, you can begin:


Steps
1) Cut the fabric to the shape you like. You can use a fabric chalk to draw the shape on the fabric then cut it out. I decided to do free hand a heart shape. As you can see it's not a perfect heart shape but It doesn't have to be puuurfect, just have fun!

2) Start stitching around your shape with your thick, colored thread. As you can see i folded the fabric as to have part of the heart already sealed and have less stitching to do!

3) At the end of stitching, leave just a big enough opening to fill the toy with the organic catnip.

4) Once the shape is filled. Complete the stitching. Close the shape.


Then you are done! Step 5 is optional...

5) On both ends, leave the thread long to add feathers at the end. I thought it would make the toy more appealing to Miss Missey if I added feathers. You can add any other accessory if you don't have feathers or don't like them. You can even cut our an accessory from the fabric you used for the actual toy. Just anything that dangles will probably appeal to your cat.

Here is the final toy. Hope you enjoyed making it as much as I did and hope your cat enjoys playing with it as much as Miss Missey.


Missey was so into it, I had a hard time taking a focused photograph. She was highly animated. She was throwing it up super high in the air and throwing it every which way! I love watching her play :)


Saturday, January 4, 2014

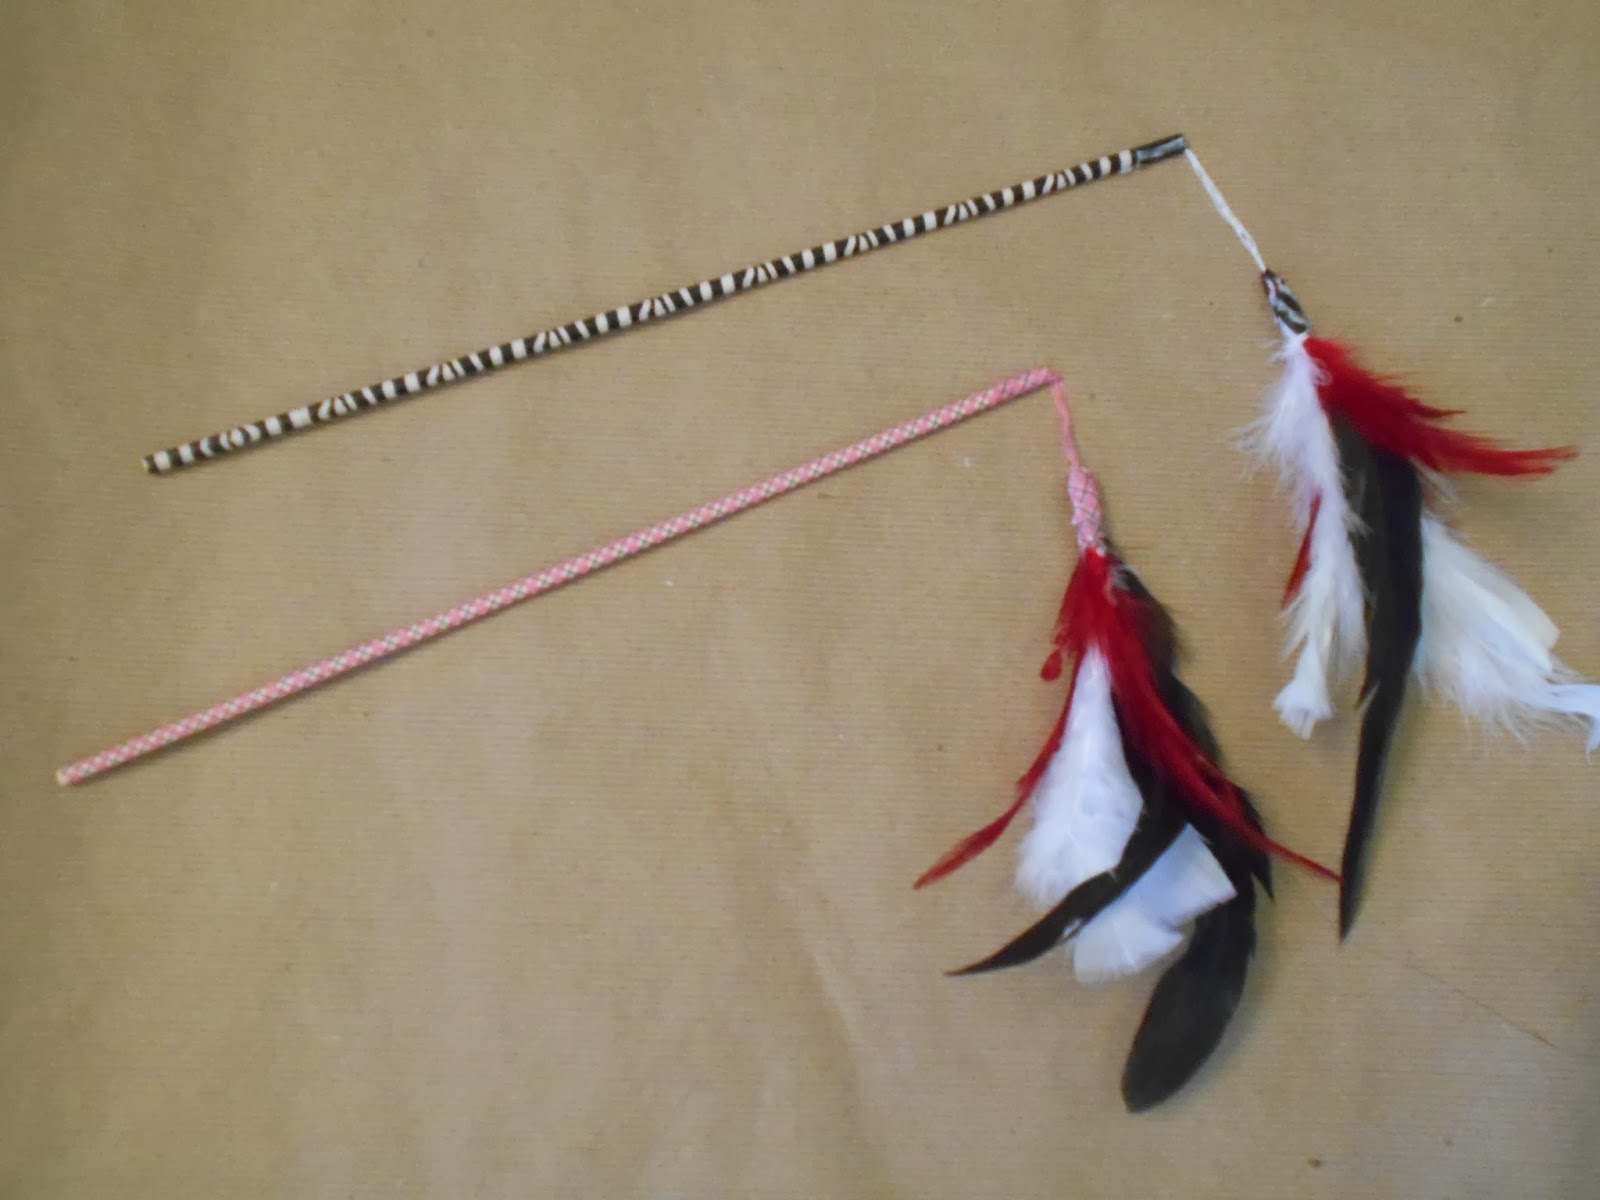
DIY Cat Toy


Materials:

1. wood craft rod

2. feathers

3. washi tape

4. string


Steps:

1. cover wood rod with washi tape

2. arrange feathers as desired

3. gather feathers & tightly tie feathers together using string

4. wrap the end of the tied feathers with washi tape to cover knot

5. leave extra string to tape to washi covered wood rod

6. Tape the tied feathers onto the washi covered wood rod

Play away!